

How To Upload Voice Memos
Home > iOS Data Recovery > 4 Ways to Transfer Voice Memos from iPhone to Reckoner
![]()
Voice memos can be beneficial for a number of reasons. From recording notes in class to that brusque song you're working on with your ring. If you want to get them off the iPhone to a more secure storage solution, this commodity will show you four dissimilar ways you can exercise that.
Note
The ways work for latest iOS 11.
- Part 1. Transfer Voice Memos From iPhone to Computer using Dropbox
- Role 2. Transfer Voice Memos From iPhone to Reckoner using Email
- Part 3. Transfer Vocalism Memos From iPhone to Calculator using iTunes
- Part 4. Transfer Voice Memos From iPhone to Figurer Selectively using iMyFone D-Back (iOS 11 Supported)
i Transfer iPhone Voice Memos to Figurer using Dropbox
Pace i: Open Vocalization Memo application on your iPhone.
Step 2: Choose the Vocalisation memo file you would like to salvage to the reckoner.
Pace 3: Tapping the share button will open a menu where you tin can encounter several options. From these choices, select "relieve to Dropbox."
Step 4: Yous can relieve directly in the folder that opens, or you can create a new folder past borer "Cull a Dissimilar Binder" and select "Save." You lot can then log in to Dropbox on your computer and download the Voice Memo.

2 Transfer iPhone Vocalisation Memos to Calculator using Email
Step ane: Open the voice memo app on your phone.
Footstep 2: Select the file that you wish to transfer to your estimator.
Step 3: Tap the share icon to open a small menu. In that window, select "Mail" to add the voice memo as an zipper.
Stride 4: Type the email address in the send to tab and tap the send push.
Step five: Yous tin can open the email on your computer and download the attachment.

three Transfer iPhone Voice Memos to Figurer using iTunes
Step i: Make sure that y'all are using the latest version of iTunes.
Step 2: Utilize the provided USB cablevision to establish a connection between your computer and iPhone.
Step 3: iTunes should open upward automatically upon detecting the telephone. If information technology does not open, then open iTunes manually.
Stride 4: From the chief interface, in the left pane, select your device.
Stride 5: Under your device, several options appear. Pick "Music", which opens boosted choices on the right side of the window.
Step six: In the correct pane of the window, check marking "Sync Music" pick. You lot will have to select the "Include voice memos" checkbox. Selecting this option will allow iTunes to synchronize all the vocalisation memos present within your phone.

Step seven: Click "Utilise" to begin synchronizing the voice memos.
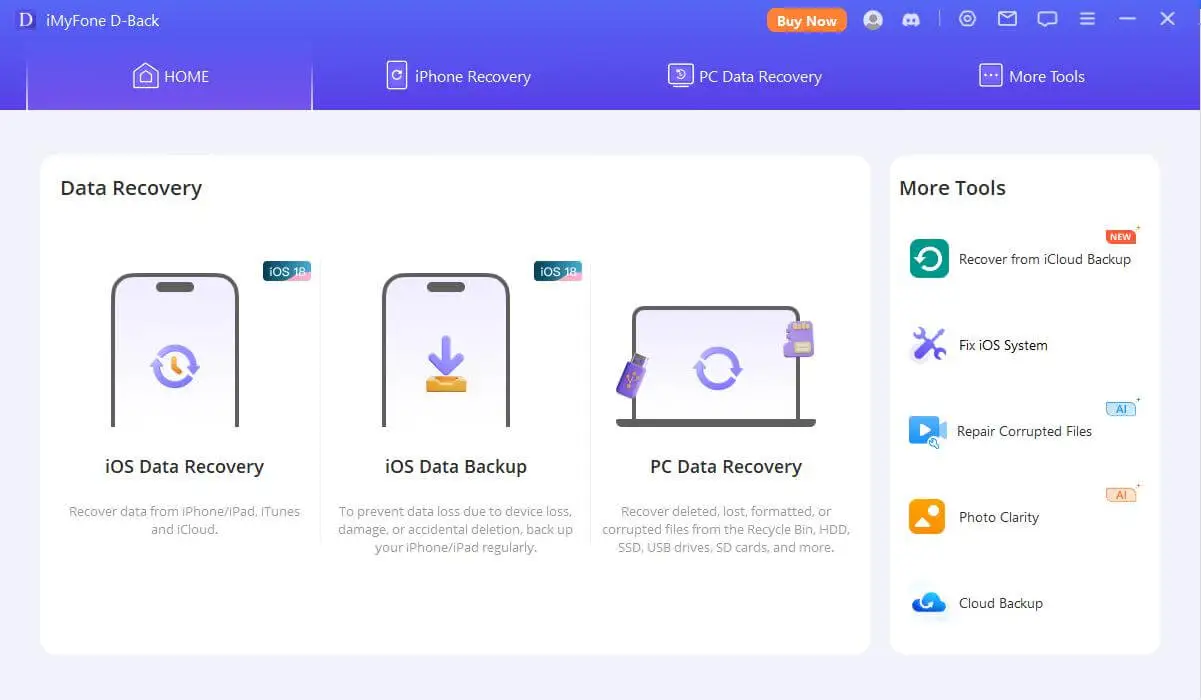
4 Transfer iPhone Vocalism Memos to Computer using iMyFone D-Back
iMyFone D-Dorsum iPhone Data Extractor Win or iMyFone D-Back iPhone Data Extractor Mac is a recovery utility program for iOS devices. With the assistance of the program, you lot tin chop-chop extract data from your iPhone in a few simple steps. Additionally, the software package allows you to recover lost information from iPhone, iPod bear upon, and iPad. This program is the best in the market thank you to its amazing features that include the post-obit.
Professional iPhone Data Extractor (Fully Compatible with iOS 11 )

1,000,000+ Downloads
Key Features:
- Supports in extracting over 22+ file extension formats such equally messages, photos, videos, contacts, notes, WhatsApp messages and more.
- Allows y'all to preview the data before extraction.
- Provides 4 modes to choose: Recover from iOS Device, Recover from iTunes/iCloud Backup, Smart Recovery.


Must Read: How to Transfer Notes from iPhone to Computer >>
How to Transfer Contacts from iPhone to Computer >>
Steps to Transfer Vocalization Memos from iPhone to Computer using iMyFone D-Dorsum
Footstep 1: You can install the trial version (complimentary) subsequently downloading it from the iMyFone official website. Launch the program, and from the main window, cull "Recover from iOS Device" option.
Stride two: Past pressing the "Commencement" button, you will open up another window, where you accept to cull the file types that you wish to excerpt from your iPhone. In this example, select "Vocalism memo."

Step 3: Pair your iPhone to the reckoner. iMyFone D-Back detects the telephone and displays the information on the main screen. Press "Scan" to brainstorm the scanning procedure.

Footstep iv: When the scanning procedure is consummate, the programme will testify all the recoverable voice memos. Select the ones y'all want to recover and so click "Recover".

Stride v: A small window opens upward asking you to choose a folder where you would like to salvage the recovered files. Look until the program completes the action before you browse the folder.
Congratulations! You have successfully extracted voice memos to your computer using iMyFone D-Back iPhone Data Extractor Win or the iMyFone iPhone Data Extractor for Mac (compatible with iOS 11).


![]()
(Click to rate this post)
Generally rated 4.9 (256 participated)
![]()
Rated successfully!
![]()
You have already rated this article, delight do not repeat scoring!

Source: https://www.imyfone.com/ios-data-recovery/how-to-transfer-voice-memos-from-iphone-to-computer/
Posted by: volkertthaveng1970.blogspot.com
0 Response to "How To Upload Voice Memos"
Post a Comment