

How To Use A Clipping Mask In Photoshop

Today, Creative Team Fellow member, Linda, is sharing her Multiple FotoBlendz Clipping Mask Blending Technique in Adobe Photoshop.
This tutorial may likewise exist followed in Adobe Photoshop Elements.
Multiple FotoBlendz Clipping Mask Blending Technique
The Story
Long earlier I was married, I kept scrapbooks. I pasted in cards, ticket stubs, ribbons from bouquets, invitations, study cards, little notes, effect programs, greeting cards and personal letters.
I don't recollect any rhyme or reason to creating pages; I only pasted things downward as I got them. For example, one day, Bill left me a note in the quad at UCLA where we'd encounter for luncheon: "Hi–..I was here where were you? Dropped by to say hullo before heading off to written report – oh well will phone call tonite." I had placed his annotation in my sometime scrapbook.
The photos on this page are from the terminal scrapbook I kept while in college.
I found some messages from Bill, 1 really mailed with a stamp costing five cents in 1967. The "Grim Fairy Tale" is actually three pages long, filled with Bill's musings about classes, his goals, his doubts, the draft and his love for me. I showed Bill the letter this afternoon; he said he didn't mail any letter of the alphabet from the Van Nuys mail office on January 19, 1967. He said neither note was his handwriting. Hmmm, what doesn't he want to admit fifty-v years afterwards?
I am creating some pages about a few things I saved in my old paper scrapbooks. I want to tell the stories so my family will know why I saved them.
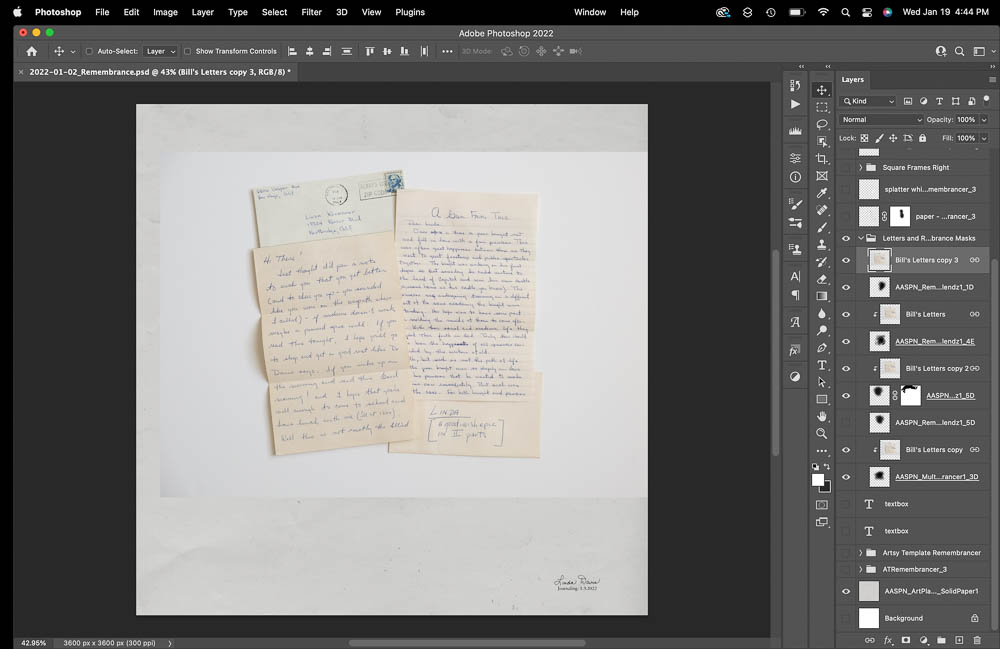
1. Photograph Memorabilia
Create a digital file of a tangible or dimensional object as the focal betoken of your digital scrapbooking folio.
- Arrange handwritten messages on white lath and have a photograph using camera of pick.
- Repeat with cards, placing ticket stubs and wrapping newspaper found inside cards.
- See also ArtsyMemorabilia.
- Get to File> New and create a New Layout of 12 Ten 12 inches at 300PPI.
- Open Solid Paper #1 from ArtPlay Palette Remembrancer move onto the New Layout using the Move Tool from the Tools Panel.
- Use the same tool to identify the photo on top of the Solid Newspaper layer.
Note.
- The White Background of the lath makes it easier blend, extract or prune a photograph to a mask.
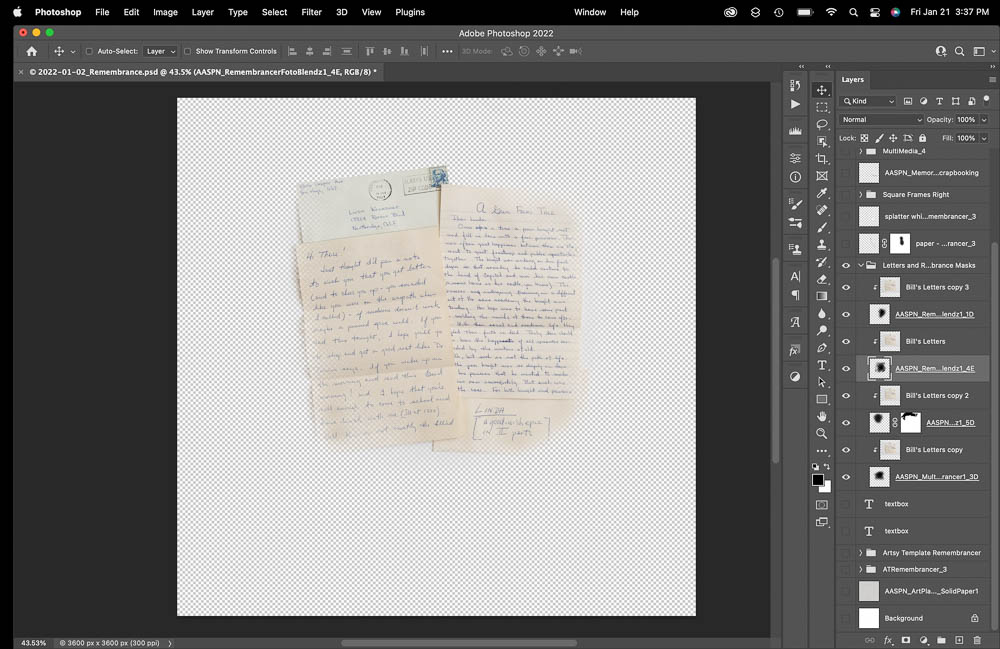
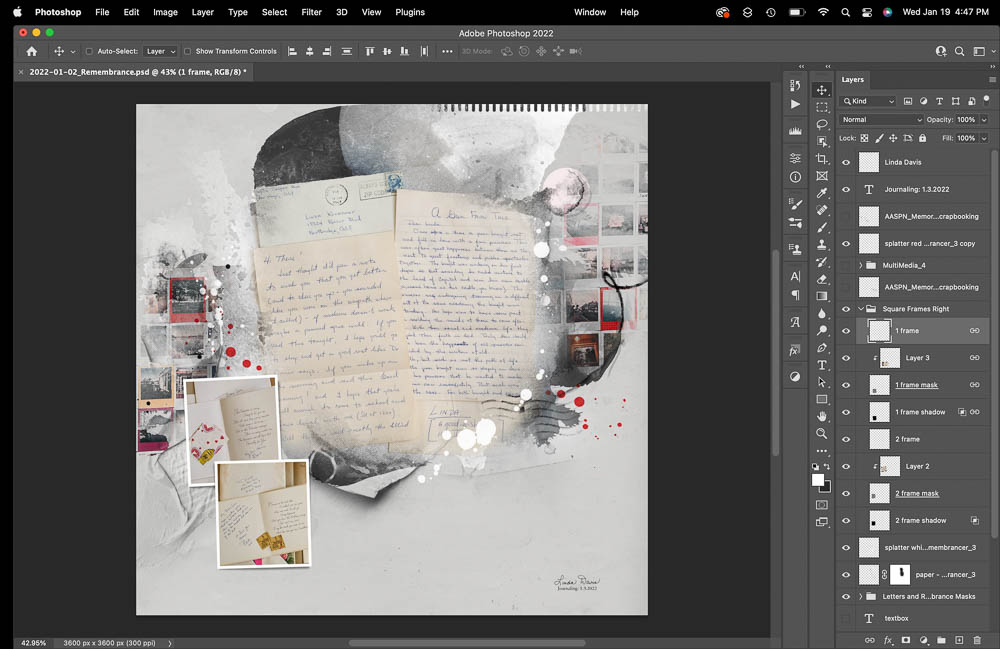
2. Blend Photo
Clip multiple photo layers to a number of FotoBlendz mask layers to blend the edges into your digital scrapbooking blueprint.
- Drag the photo layer to 'New Layer' icon at the the lesser of the Layers Panel to duplicate multiple times.
- Clip them together by selecting the layers and clicking on the 'Paper prune' icon at the lesser of the Layers Panel.
- This ensures that none of the layers can shift out of place.
- Become to File> Open up to import the .png format file of ALL masks from Remembrancer FotoBlendz No. i .
- Place several masks onto the layout foundation above the Solid Paper layer.
- Motility each photograph layer direct in a higher place a mask layer.
- Clip each photo copy to the masks to reveal all areas of the letters in the photo.
- Go to Layer> Create Clipping Mask.
Note.
- Yous tin can reposition the FotoBlendz mask layers as preferred.
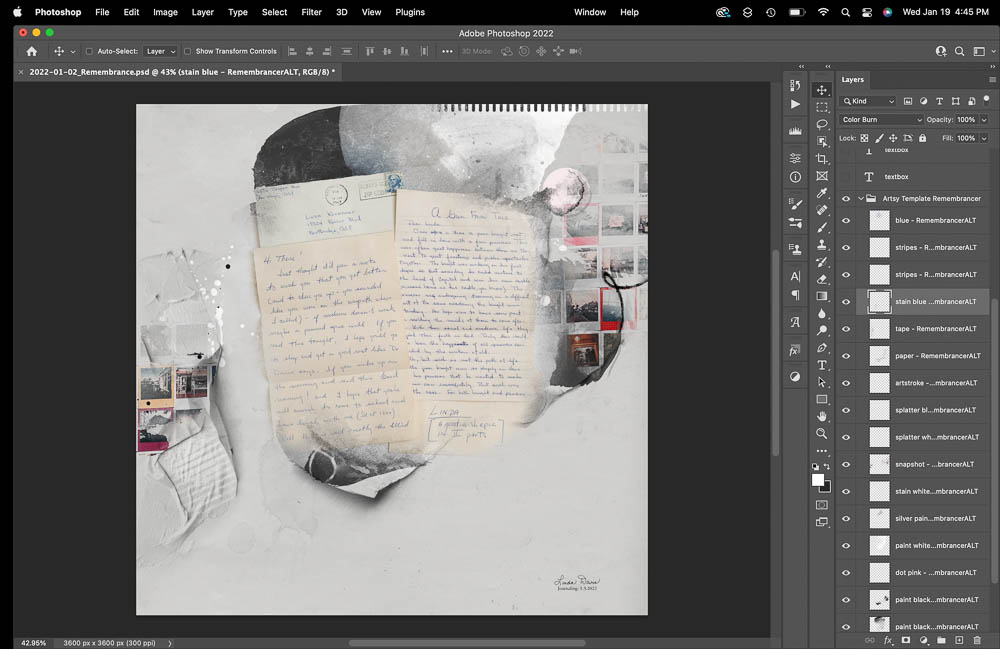
three. Piece of cake Embellishment
Use Template Layers to create artistry to matte the blended image in your digital scrapbooking folio.
- Open up the Remembrancer Artsy Layered Template in Adobe Photoshop or Elements.
- Delete the pocket-sized frames in the template past selecting the layers and dragging them to the 'Trash Tin can' icon at the bottom of the Layers Panel.
- Arrange the background layers below the masked messages using the Motility Tool.
Tip.
- Delete whatever layers you do not wish to apply every bit preferred.
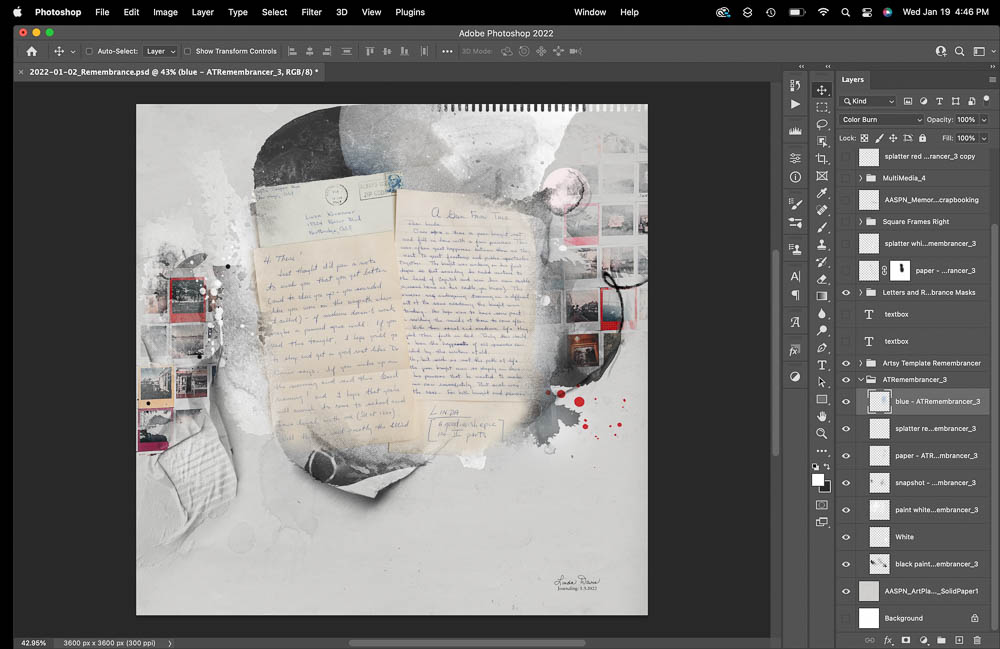
4. Add ArtsyTransfers
Utilise transfers to back up and enhance the blended edges of your focal point to create photo artistry.
- Open the .psd version of ArtsyTransfer #3 from Artsy Transfers Remembrancer .
- Select the layers in the Layers Console, and use the Move Tool to place the layers below template layers.
- Delete and reposition the layers as preferred to support your digital scrapbooking layout design.
Tip.
- You tin can group the Template and ArtsyTransfer layers into two dissimilar folders to go along them organized.
- Select the Template layers in the Layers Panel and go to Layer> Group Layers.
- Repeat for the ArtsyTransfer layers.
5. Supporting Photos
Utilise frames from a Template to showcase supporting images to the digital scrapbooking folio.
- Select the layers of the 2 small frames from Template #v in Artsy Template Duo ValuePack No. 1.
- Move the layers onto your artsy digital scrapbooking layout blueprint and position virtually your blended photograph.
- Place photo layers above the mask layer and clip to the 'mask' layers using the Clipping Mask part in Adobe Photoshop and Elements.
- Move red and white Splatter layers from file #three of ArtsyTransfers Remembrancer below small frames to Lead The Heart.
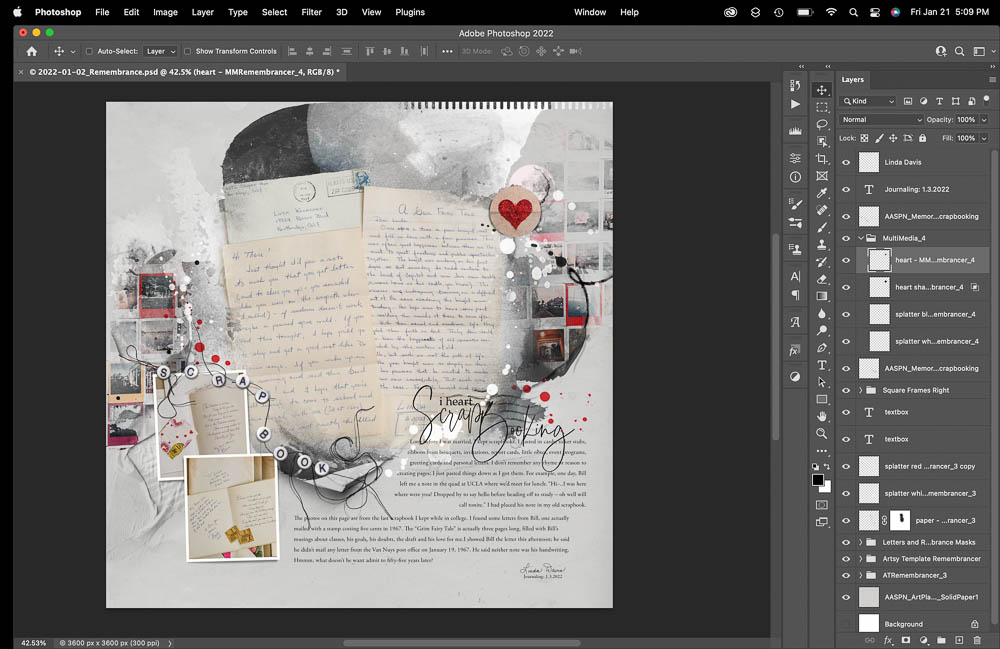
6. Complete Page
Add Elements, Title and Journaling to embellish your digital scrapbooking design.
- Above the small frames, arrange the png scrapbooking file from Memories WordART Mix No. 2 .
- At the elevation right, place four layers from file iv of MultiMedia Remembrancer No. 1 .
- Place paper layer from transfer 3 of Artsy Transfers Remembrancer only to a higher place the masked letter on the right.
- Type your journaling into a text box.
Note.
- A fter printing this layout at Persnickety, I'm going identify information technology besides as the original letters and cards in plastic sleeves in a 12×12 album.
- There are a few other things in my old paper scrapbook that I will photo for creating a pages.
- Writing the stories gives context for why something was saved.
- These are stories I want my family unit to know.
Digital Supplies
Discover a complete list of digital assets and designs for this digital scrapbooking page.
Summary
Employ multiple FotoBlendx clipping masks to blend your focal photo in your digital scrapbooking pages.
- Establish a Solid Paper layout foundation.
- Clip photos to multiple FotoBlendz clipping masks and reposition the mask layers to yield best results.
- Back up your photograph artistry with a A digital assets and designs.
See also:
- Alter FotoBlendz Clipping Masks
- Multifaceted MultiLayered FotoBlendz Clipping Masks
- Using Blending Modes with FotoBlendz
Want More than Digital Scrapbooking and Photograph Artistry Inspiration?
- Check out theGallery here.
- MeetLOTS more Tutorials.
- Watch a Video.
- Take a Class.
EMAIL ME AT ANNA AT ANNAASPNESDESIGNS.COM OR Post IN THE COMMENTS Below.

How To Use A Clipping Mask In Photoshop,
Source: https://annaaspnesdesigns.com/multiple-fotoblendz-clipping-mask-blending-technique/
Posted by: volkertthaveng1970.blogspot.com
0 Response to "How To Use A Clipping Mask In Photoshop"
Post a Comment